Sunday, February 3, 2013

End Table Mini-Tutorial

I am working toward painting the end tables and coffee table in my living room.  They are not great quality {shiny finished fake cherry wood}, so I don't feel bad at all for changing them.  My living room has brown walls, brown hardwood floors and brown tables/accent pieces.  Sit in my living room and you know what it feels like to be on the inside of a Hershey Kiss!  I need to lighten up a bit, so I am painting all the tables and accent pieces in linen chalk paint.  My paint is from a local lady who has a great shop inside Woodstock Market.  Laura Whitlow's business is called Rethunk Junk.  If you live in the northern 'burbs of Atlanta, you should check her out!  Laura makes her own paint, and I love how easy it is to work with.  So today I painted one of my end tables and below are the steps in the process.  Total work time for this project was about 2 hours.  Of course there was dry time in between, but this paint dries really quickly!

The Subject {the underside of this table has a sticker that says it was delivered on 09/05/92...we've had this table for over 20 years!}:


The Supplies:


Although sanding is not needed when using chalk paint, I go ahead and give my pieces a light sanding since my Mouse sander works so quickly.

After sanding, comes a dusting, followed by a wipe down with a wet cloth.  I just use warm water with a splash of pine-sol.


Now it's time for the first coat of paint.

And here she is with her first coat, drying.  Dry time is very quick with chalk paint!


The second coat covers very well, and then she dries again.  I must admit, I put a 3rd coat on the table top just to ensure no chipping.


My next step was to sand the edges and corners to give this table a worn/aged look.  Doing this step is personal preference and totally determined by what look you are trying to achieve.

After another good dusting, my table is ready for polishing.  This is a dark wax.  There is also a clear wax.  The dark gives a little darker tint, where clear keeps the original color intact.  I use a soft dry cloth to apply this evenly over the entire piece.


After this step, my table is completely done, ready to go back to its home.  I think I'm going to be SUPER happy with all the tables in this room painted with my linen chalk paint!


Hope this helps show you just how quick and easy Chalk Paint is to use!


Linking to some fun parties....check them out!


Funky Junk's Sat Nite Special

Sunday, November 4, 2012

Give Thanks

Sometimes you don't know what you have until you get the opportunity to see what others do not have.  I recently participated in a community service/mission project through our church called Love Loud.  Love Loud is a yearly mission project in which many projects are taken on by First Baptist Woodstock to serve the community.  Projects vary from home repairs to hair cuts and anything in between.  This project centered around a grandmother who had recently been given temporary custody of three of her grandchildren whose mother had been jailed for drug and shoplifting charges.  DEFACS would not allow the children to stay with her unless a list of items were completed in order to make her home a safe place.  You see, this grandmother's health was not good and her home had fallen into disrepair.  Along with about 100 other volunteers, we transformed this home into a safe place where hope can live, children can thrive, and a family can count on love from complete strangers who are the hands of God.  These before and after photos are just a glimpse of what the Love of the Lord can do.
 
Before

 
After

 
Needless to say.....I have so much to be thankful for!  Often in the daily rat race of life, I forget to give Thanks to the Lord for all the small things.  My friend, D'Ann, created this very neat display in the entry to her home and I thought it was just what we needed in our home to be a daily reminder to give thanks for all we have. 
 
D'Ann's Foyer Display:


Since I don't have the same items to use, I couldn't just straight up copy D'Ann.  However, be assured that if I had the materials, I SO would have recreated her foyer table!  She is my creative muse, and so many of my projects begin in D'Ann's head...or collectively through our thrift, craft and antique store inspiration! :)  So I decided to make a smaller and slightly different version that I could place on my kitchen table.
 
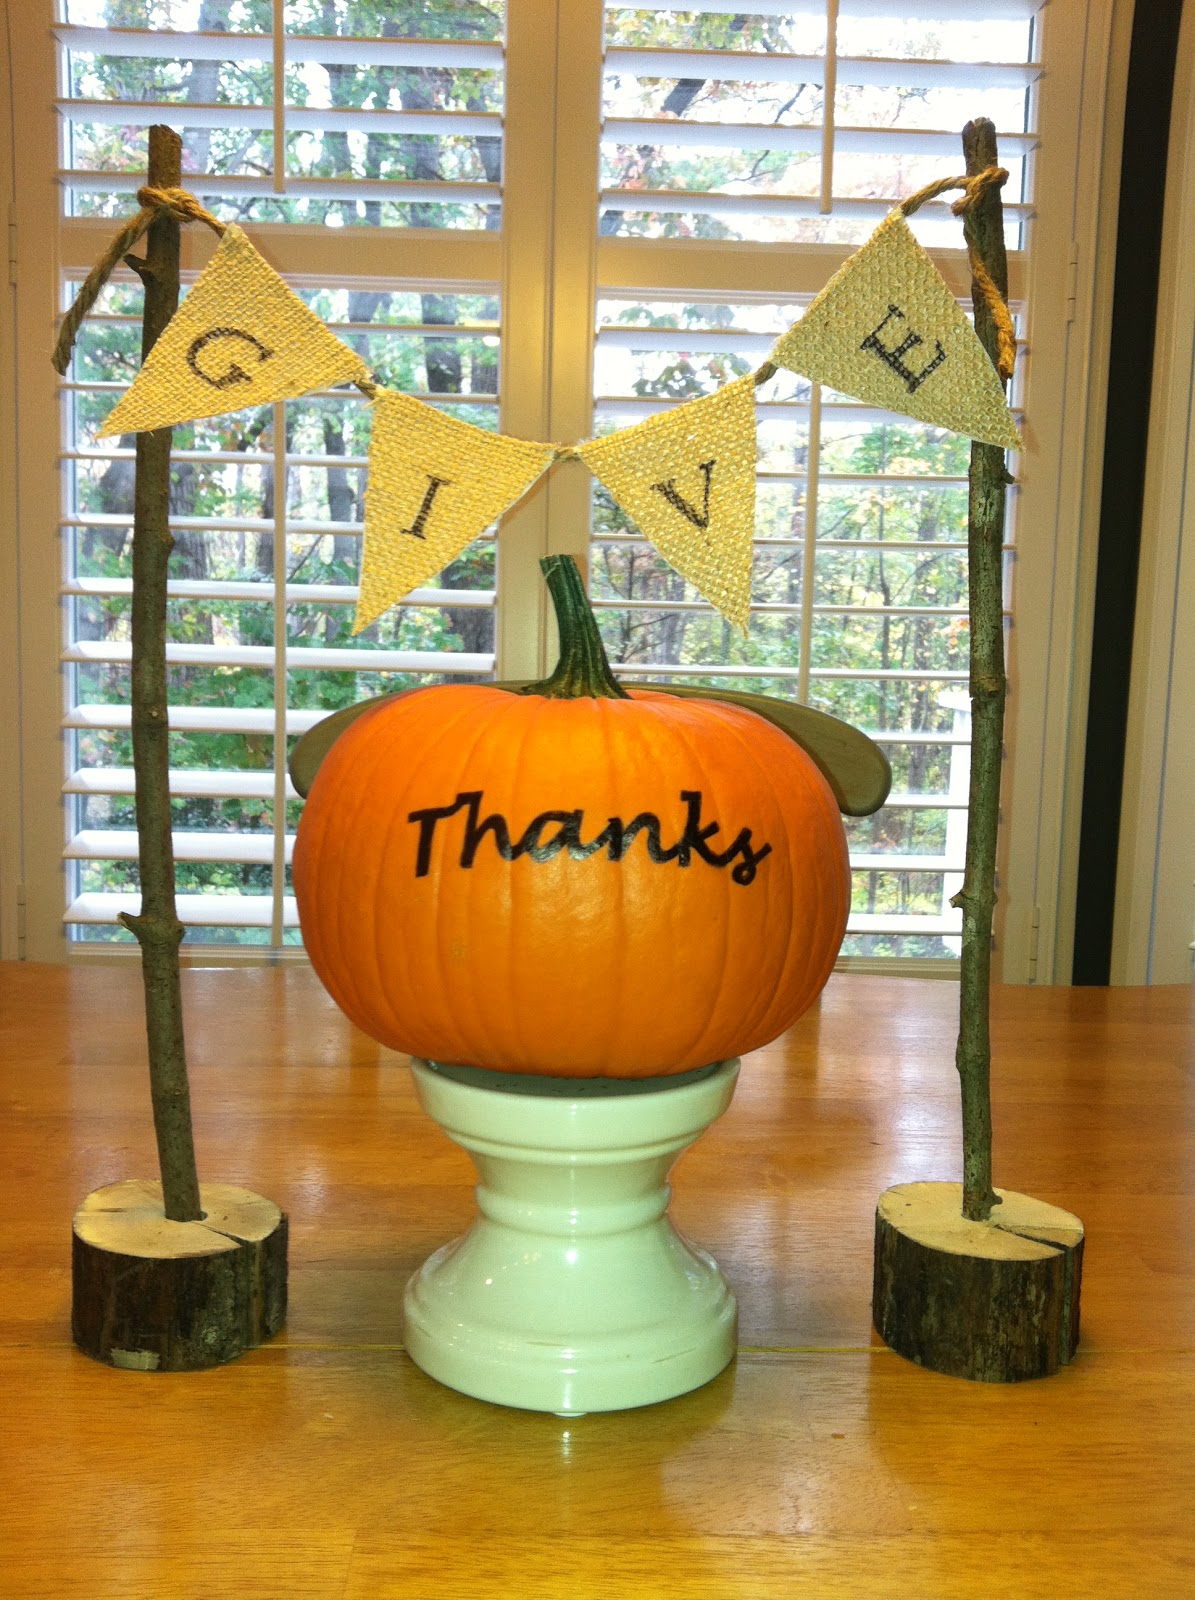
This is what I came up with:


So here's what we did....print out the word 'thanks' and scribble with pencil all over the back of the word.  Lay the paper on the pumpkin and trace around the letters with a ballpoint pen.  This will leave an outline of the word on your pumpkin.  Use a sharpie marker to fill in the word.  To make the pennant banner, cut out the triangles from burlap fabric.  Print out the word 'GIVE'.  Hold up each triangle over each letter in a brightly lit window.  You will be able to see the letter through the burlap so you can trace onto the burlap with a sharpie.  Hot glue the triangles to a piece of twine.  D'Ann's pumpkin is bigger and all her lettering is bigger.  She used her great old frame to attach the GIVE part of the message and sat the pumpkin on an awesome yardsale find pedastal thing.  Since my pumpkin is sitting in the middle of the kitchen table, I devised the wood banner holder using a log from the fire log pile in the back yard and some twigs.  I had hubbie cut two hunks of wood from the log and drill a hole in each that fit the twigs I found.  In went the twigs and I just tied the twine to each.  And there you have it!  Two different ways to display a meaningful message in your home! 
 
 
I hope each of you will take time to GIVE THANKS for all the blessings you receive in life!  I know I sure have so much to be thankful for!  Thanks for reading~
 
 
Linking to some great parties!
 
 
UndertheTableandDreaming


Sunday, September 23, 2012

Favs of Fall

I just love fall!  The weather is just perfect here in North Georgia right now, and I have been in the mood to add some fall touches to my home.  I try to stick mostly to fall decor that will take me all the way through Thanksgiving.  I may or may not be the absolute worst about not taking down the previous season's decor!  As I removed the moss bunnies and Easter egg topiary this weekend, I vowed to be more timely in getting that stuff put away next year.....yeah, not holding my breath!  Heck, the only reason I get the fall stuff put away is because I have to put out the Christmas decor. 

Well anyway, take a peek at some of the fall decor I've added to the homestead....
 
I love fresh flowers....any time of year!  This beautiful mixture of mums, sunflowers and carnations adds just the right touch in our kitchen.
 
 
The cloche got a couple of pinecones, a little fake pumpkin and some fall color berry-like things.  Sitting on the island in the kitchen is a great place to remind us of the beauty that is the fall season!
 
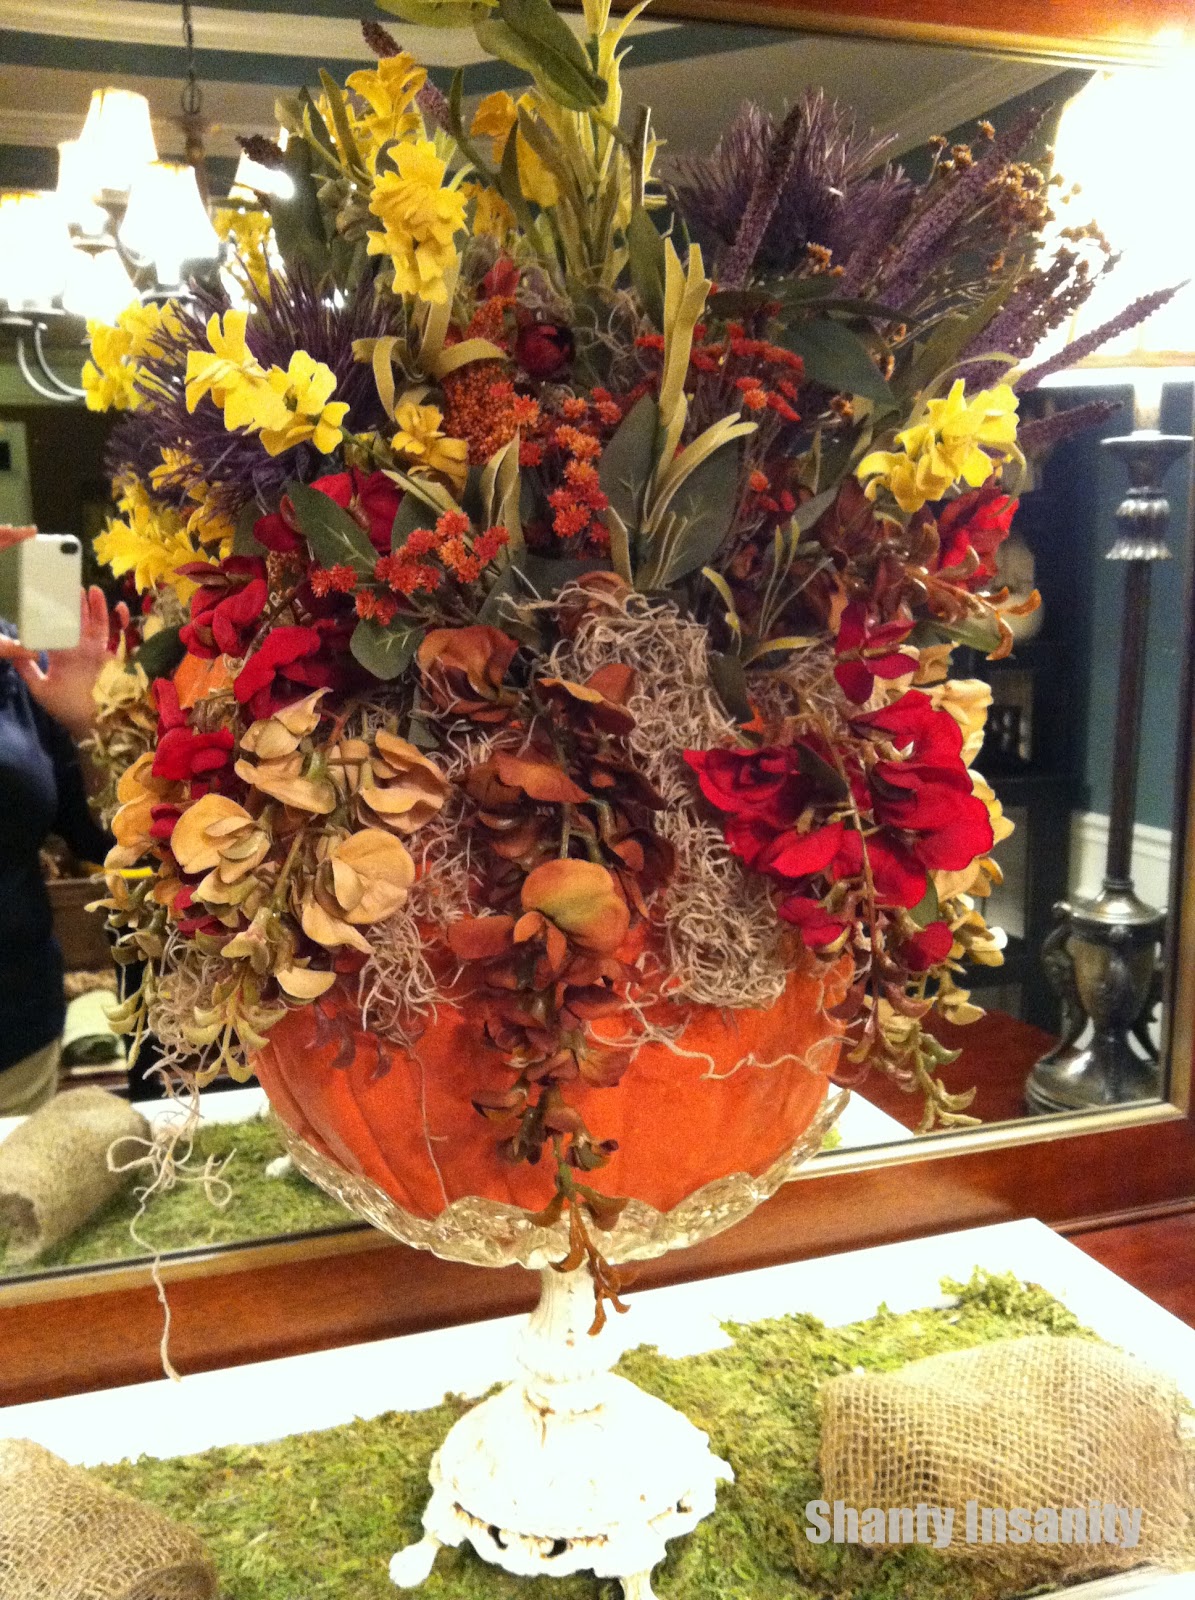
I was the lucky winner of this beauty last year in a silent auction at my school's fabulous fall festival.  The festival is coming up later this week, and I can't wait to see what I can win this year! Each class decorates a faux pumpkin and it is entered into the silent auction.  The entries are always so creative! I have the great honor and privilege to be assistant principal in the most wonderful school with a dedicated PTA!  Fall Festival is always an event we all look forward to!  This pumpkin is the center piece on the buffet in our dining room.
 
The dining table is set with fall colors, including these pottery soup bowls that belonged to my grandmother.  Fill it with a dollar store pumpkin, and it's instant Fall!


And saving the best for last.....this is a very crudely made wooden trough that I made this week.  I just grabbed some boards out of the hub's scrap wood box, used the jigsaw to cut it the lengths I needed, nailed it all together, beat it up a bit with a hammer, and stained it.  Hubby saw it and just shook his head.  He immediately wanted to "fix" it for me.  I told him that wasn't happening....at least until it's time to take down the fall decor!  It took like 20 bazillion hours to get this thing set just right, and it's staying right where it is for now! :o)  It is really bad though...as long as you don't look real close...it's just fine!
 
Well, that's all for now.  I'll be adding some additional decor in the coming weeks, so I am scouring all the great ideas in blogland and Pinterest! 


Sunday, September 9, 2012

Monogram Madness!
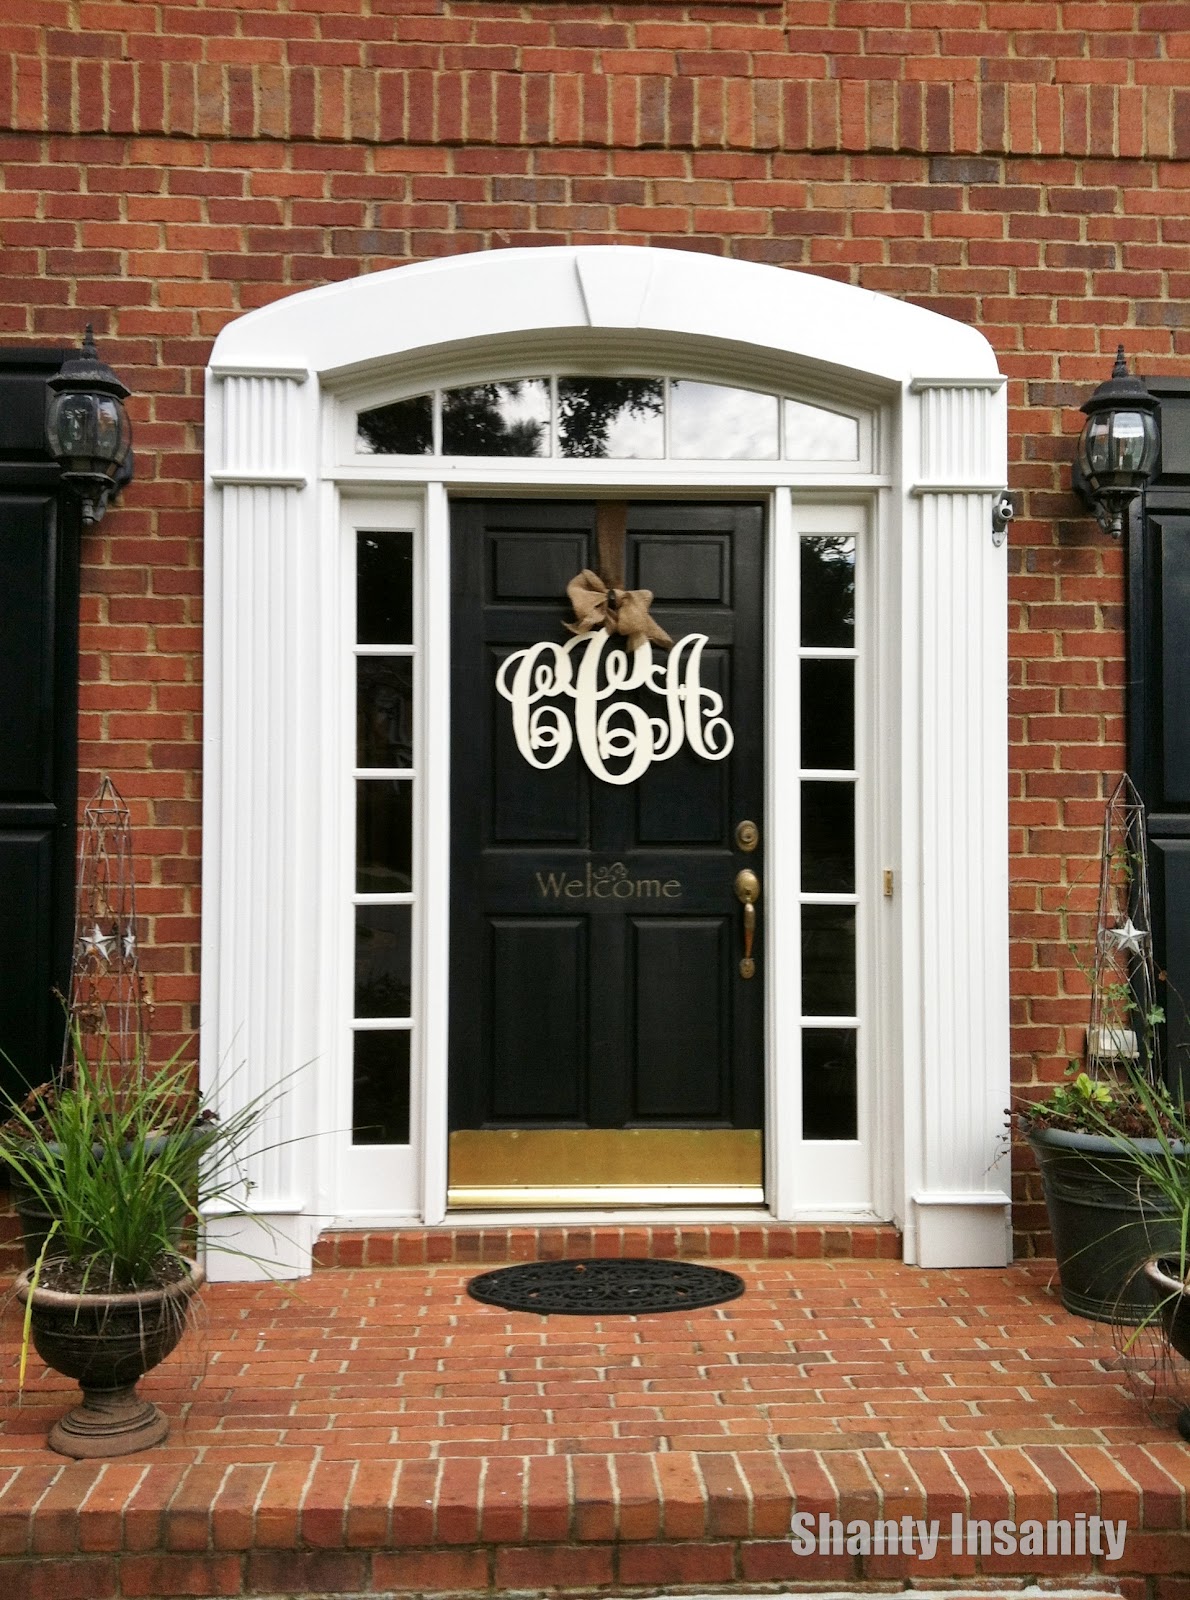
Can I just say, I am obsessed with monograms!  I love a classic monogram, and I struggle with where to use them without overdoing it!  I have several monogrammed pieces of clothing, and I have one on the back windshield of my car.  I have seen these great wooden cut-out monograms on Pinterest and just decided it would be perfect for our front door!

 
BUT...I didn't want to pay the price I am seeing them sell for on sites like Etsy.  Not when I know I have the tools and the ability to at least give it a try myself.  So that's what I did this weekend!  And here is our door today.......


I LOVE LOVE LOVE it!  So, I wanted to tell you all that you can make one yourself.  If you have the correct tools, this is not hard to do.  It does take time and patience.  So, how to do it?  Here is what I did. {Warning: the photos I took were not of my original above.  I did one for one of my daughters today and took pictures since I didn't remember to do them the first time.  Just didn't want it to confuse y'all!}

1.  You need to download the font called KK Monogram to your computer.  It can be found at DaFont.com

2.  I used Microsoft Publisher to create the monogram.  You can create individual text boxes and move them around so that the letters touch each other.  This is important to make the monogram all one piece.  I used about a size 300/bold font for the middle letter and a bit smaller for the side letters.  The initials I used:  the C in the middle is our family name, and the smaller C and A on the sides are for my first name and hubbie's first name. When the monogram was complete, I saved it as a pdf file on a jump drive.

3.  The next step involves enlarging the monogram.  Because I am an elementary school assistant principal, I have access to bulletin board paper and a projector.  I taped the paper to a wall and shined the monogram via the projector onto the paper.  I made mine about 20 inches tall by 24 inches wide and I traced it. Here is a what it looks like....this one is a different one I am making for one of my daughters.  This may be difficult to see....but hopefully you can get the idea. :)
 4.  I went to Lowe's and purchased a piece of 1/4 inch thick smooth surface plywood.  It was $20 for the sheet and I had the nice young man at Lowe's cut it into 6 pieces that measured 24x30.  This is a blurry pic of the pieces of plywood waiting for me to make them into something pretty.  Since I can get 6 monograms out of one sheet of plywood, that's a pretty good deal!


5.  I used spray adhesive on the back of the paper and stuck it to the board.  Word of caution here...I used way too much on my first one and ended up having to sand off a lot of the paper.  The second time, I used less and it worked great!  I was able to peel off the paper from the wood once it was all cut out.

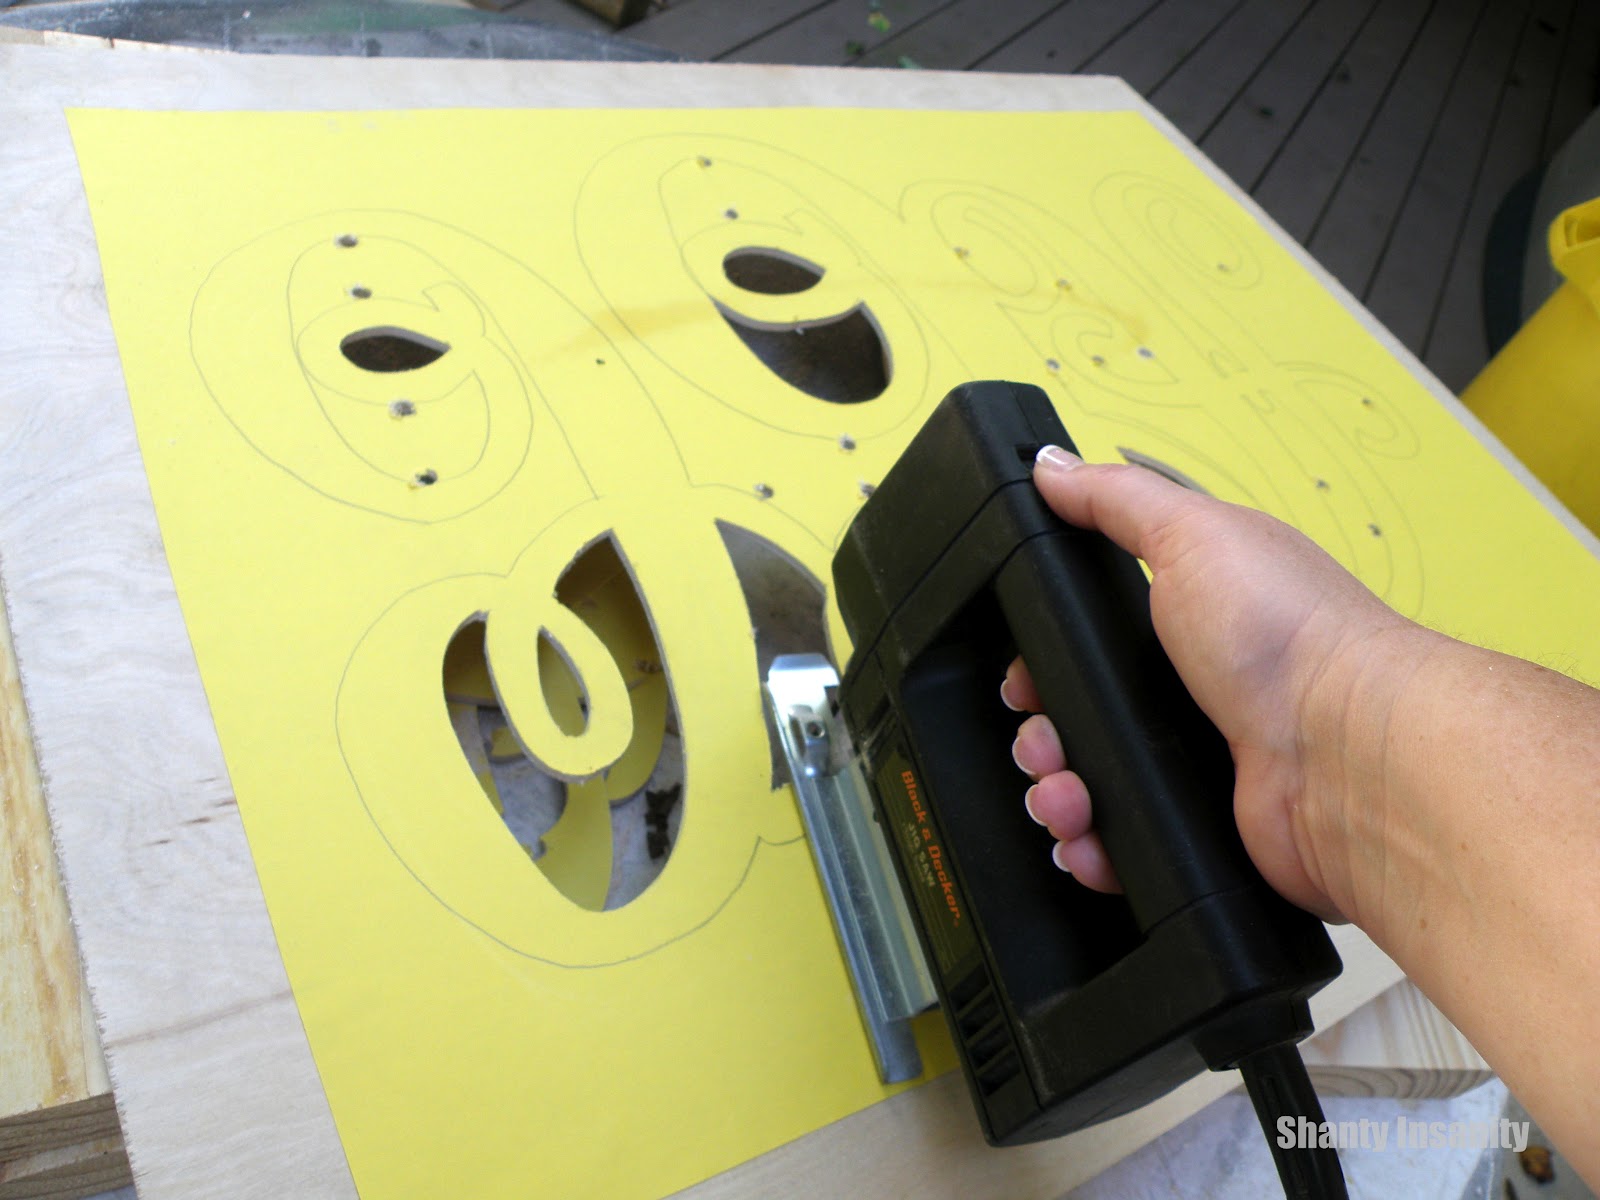
6.  Then I used a drill to drill pilot holes to have a place to insert the saw blade.  This picture shows you the paper stuck to the board, some of my pilot holes and also some of the pieces already cut out.

7.  I used a jigsaw to cut.  It was important to cut out the inside sections first so the stability of the entire piece was maintained for as long as possible. Go very slowly with the jigsaw, and do not try to turn a corner!  The blade will break, so it is important to think through how you will make your cuts. I had to stop and add more pilot holes as I went.  I just lined up the drill right beside a line so the hole would be in just the right spot for my jigsaw blade to get to the line I was wanting to cut.
 

8.  Once the piece was completely cut out, I sanded it using my mouse sander to get the little prickly edges off.  Then it is ready for spray painting!  This particular one I am showing you is going to be a fun turquoise blue and will go in my daughter's dorm room.  I used a cream color for our front door monogram because I wanted it to pop against the black door.
 
So here is the one on our front door again.  You can see I added a burplap ribbon bow and it was ready to hang! 


This one took way more time.  The one I made today for my daughter took about 2 hours, start to finish.  I suppose it is like anything else, the more you do something, the faster you go!  Good luck to you should you decide to go for it!
Linking up to some great parties!